My First Useful 3D Printer
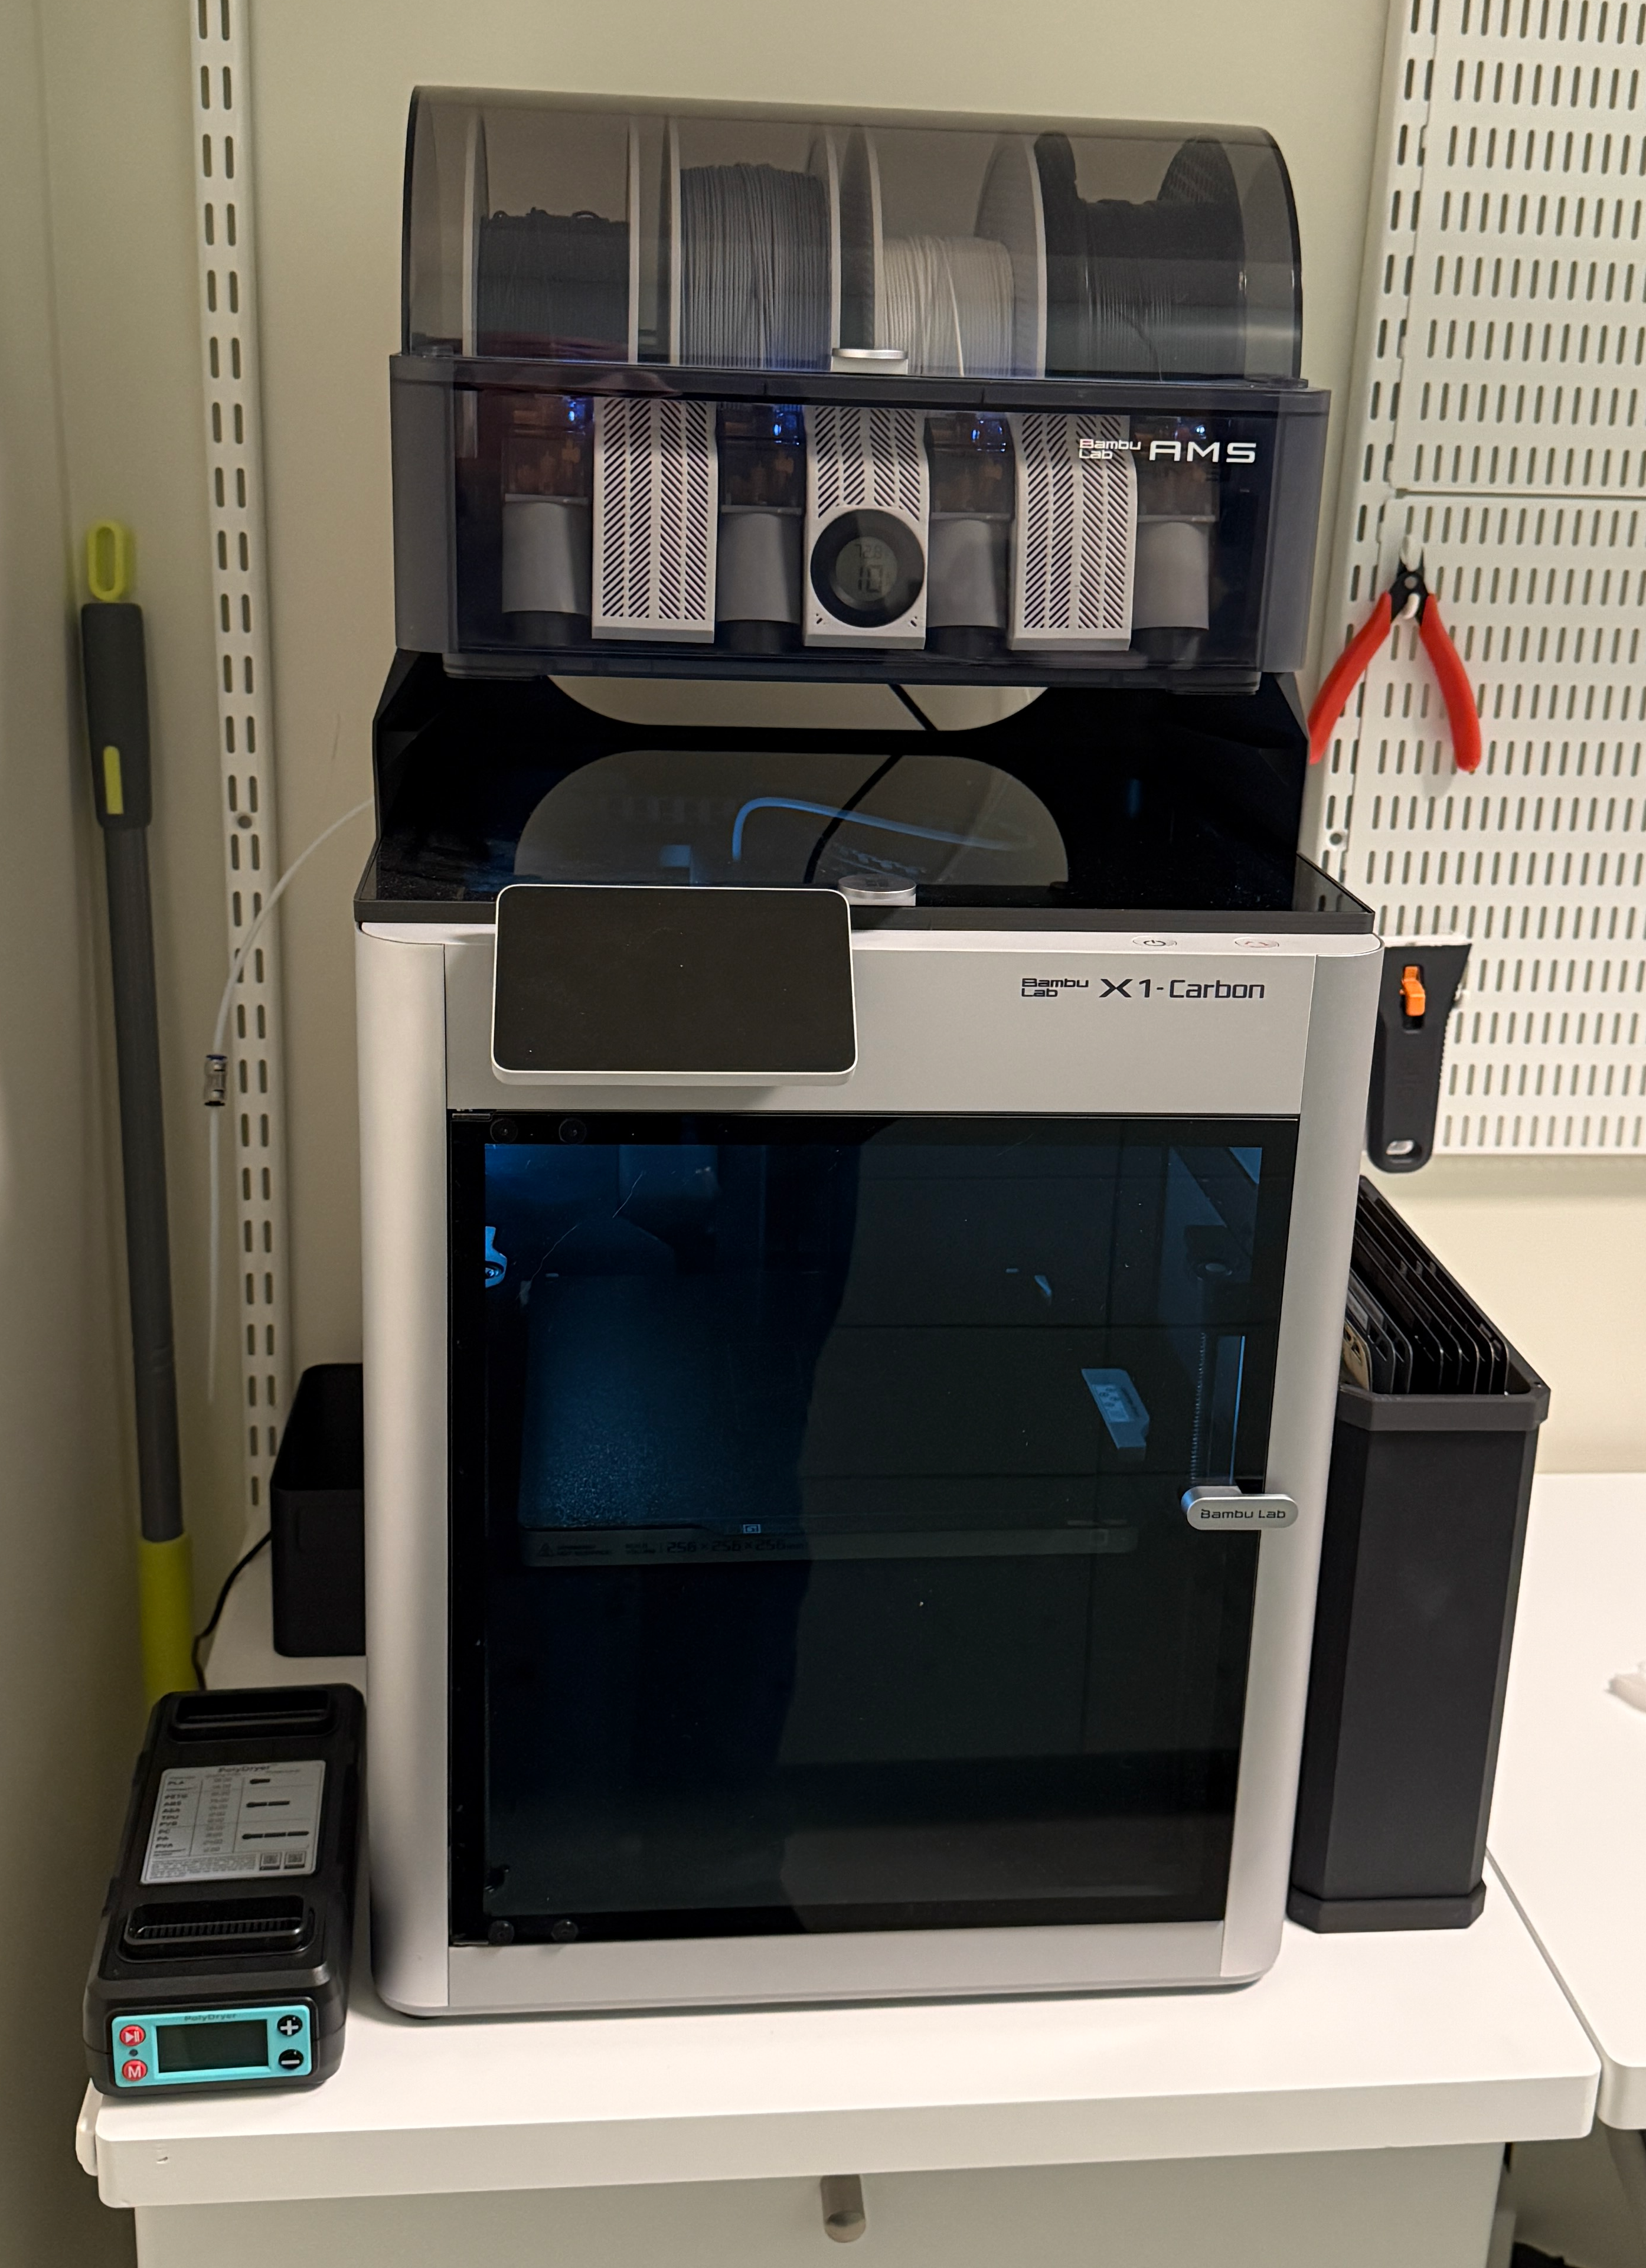
2024 was the year I got a 3D printer to work reliably. It’s been a fun ride; I’ve been able to create fanciful doodads, repair things in my home, make jewelry for my partner, and provide replacement parts for many friends. The printer that made this all happen was the Bambu X1 Carbon with an AMS, commonly referred to as the X1C.
Early Failures
Back in 2023, I purchased a Prusa i3 MK3S+, which was the “Upgrade Pick” from wirecutter at the time. I had a bit of success with it, but i also had many many failures. Some were almost catastrophic (e.g. a Blob of Death) and many times it felt like I had bumped into some rule or guideline that “everyone knew” but I had missed during the tutorials. For example, build plate choice/handling was very important, but was never presented as something to worry about.
I originally bought the printer to make aperiodic monotiles, and I eventually succeeded. But I had enough problems with other builds that I stopped using my Prusa, and it was sitting there gathering dust for at least six months.
Phase Change
Then in January of 2024, this post from Scott Hanselman scrolled by. It looked amazing, but I didn’t really have anything I needed to print. Then in March, he posted about this print from the Lucky 13 line. These prints looked incredible, and when I checked, wirecutter had changed it’s recommendation.
I decided to give the X1C a try and ordered one with the AMS, a rack that allows the printer to switch between 4 filaments.
Holy Crap. Everything I printed came out great. It was probably 2 months before I had any sort of failure. I chalk this up to several X1C features:
- The print head has a LIDAR sensor that it uses to look at the first layer of every print. Most errors happen at this stage (especially bed adhesion issues), and the sensor is great at detecting when things go awry.
- The machine auto-calibrates itself, including sensing how it vibrates. This allows it to print very smooth surfaces.
- The AMS is secretly also a great dry box for filament. Many issues (e.g. stringiness) are introduced by wet filament and I’ve never seen any of them.
All in all, my move from the Prusa to the X1C felt like moving from the Apple ][ to the Macintosh. The former could do great things, but was fiddly and finicky. The latter was consumer grade… it Just Worked.
Just How I Like It
Having used the X1C for almost a year, I’ve got a set of tools and self-printed upgrades that I use with it. There are many online lists of 3D printing “necessities”; I actually bought things from some of these lists. But this list is the tools that I use regularly, as well as the upgrades I’ve found most useful. (all printed using my X1C, natch).
Tools
Wire Snips
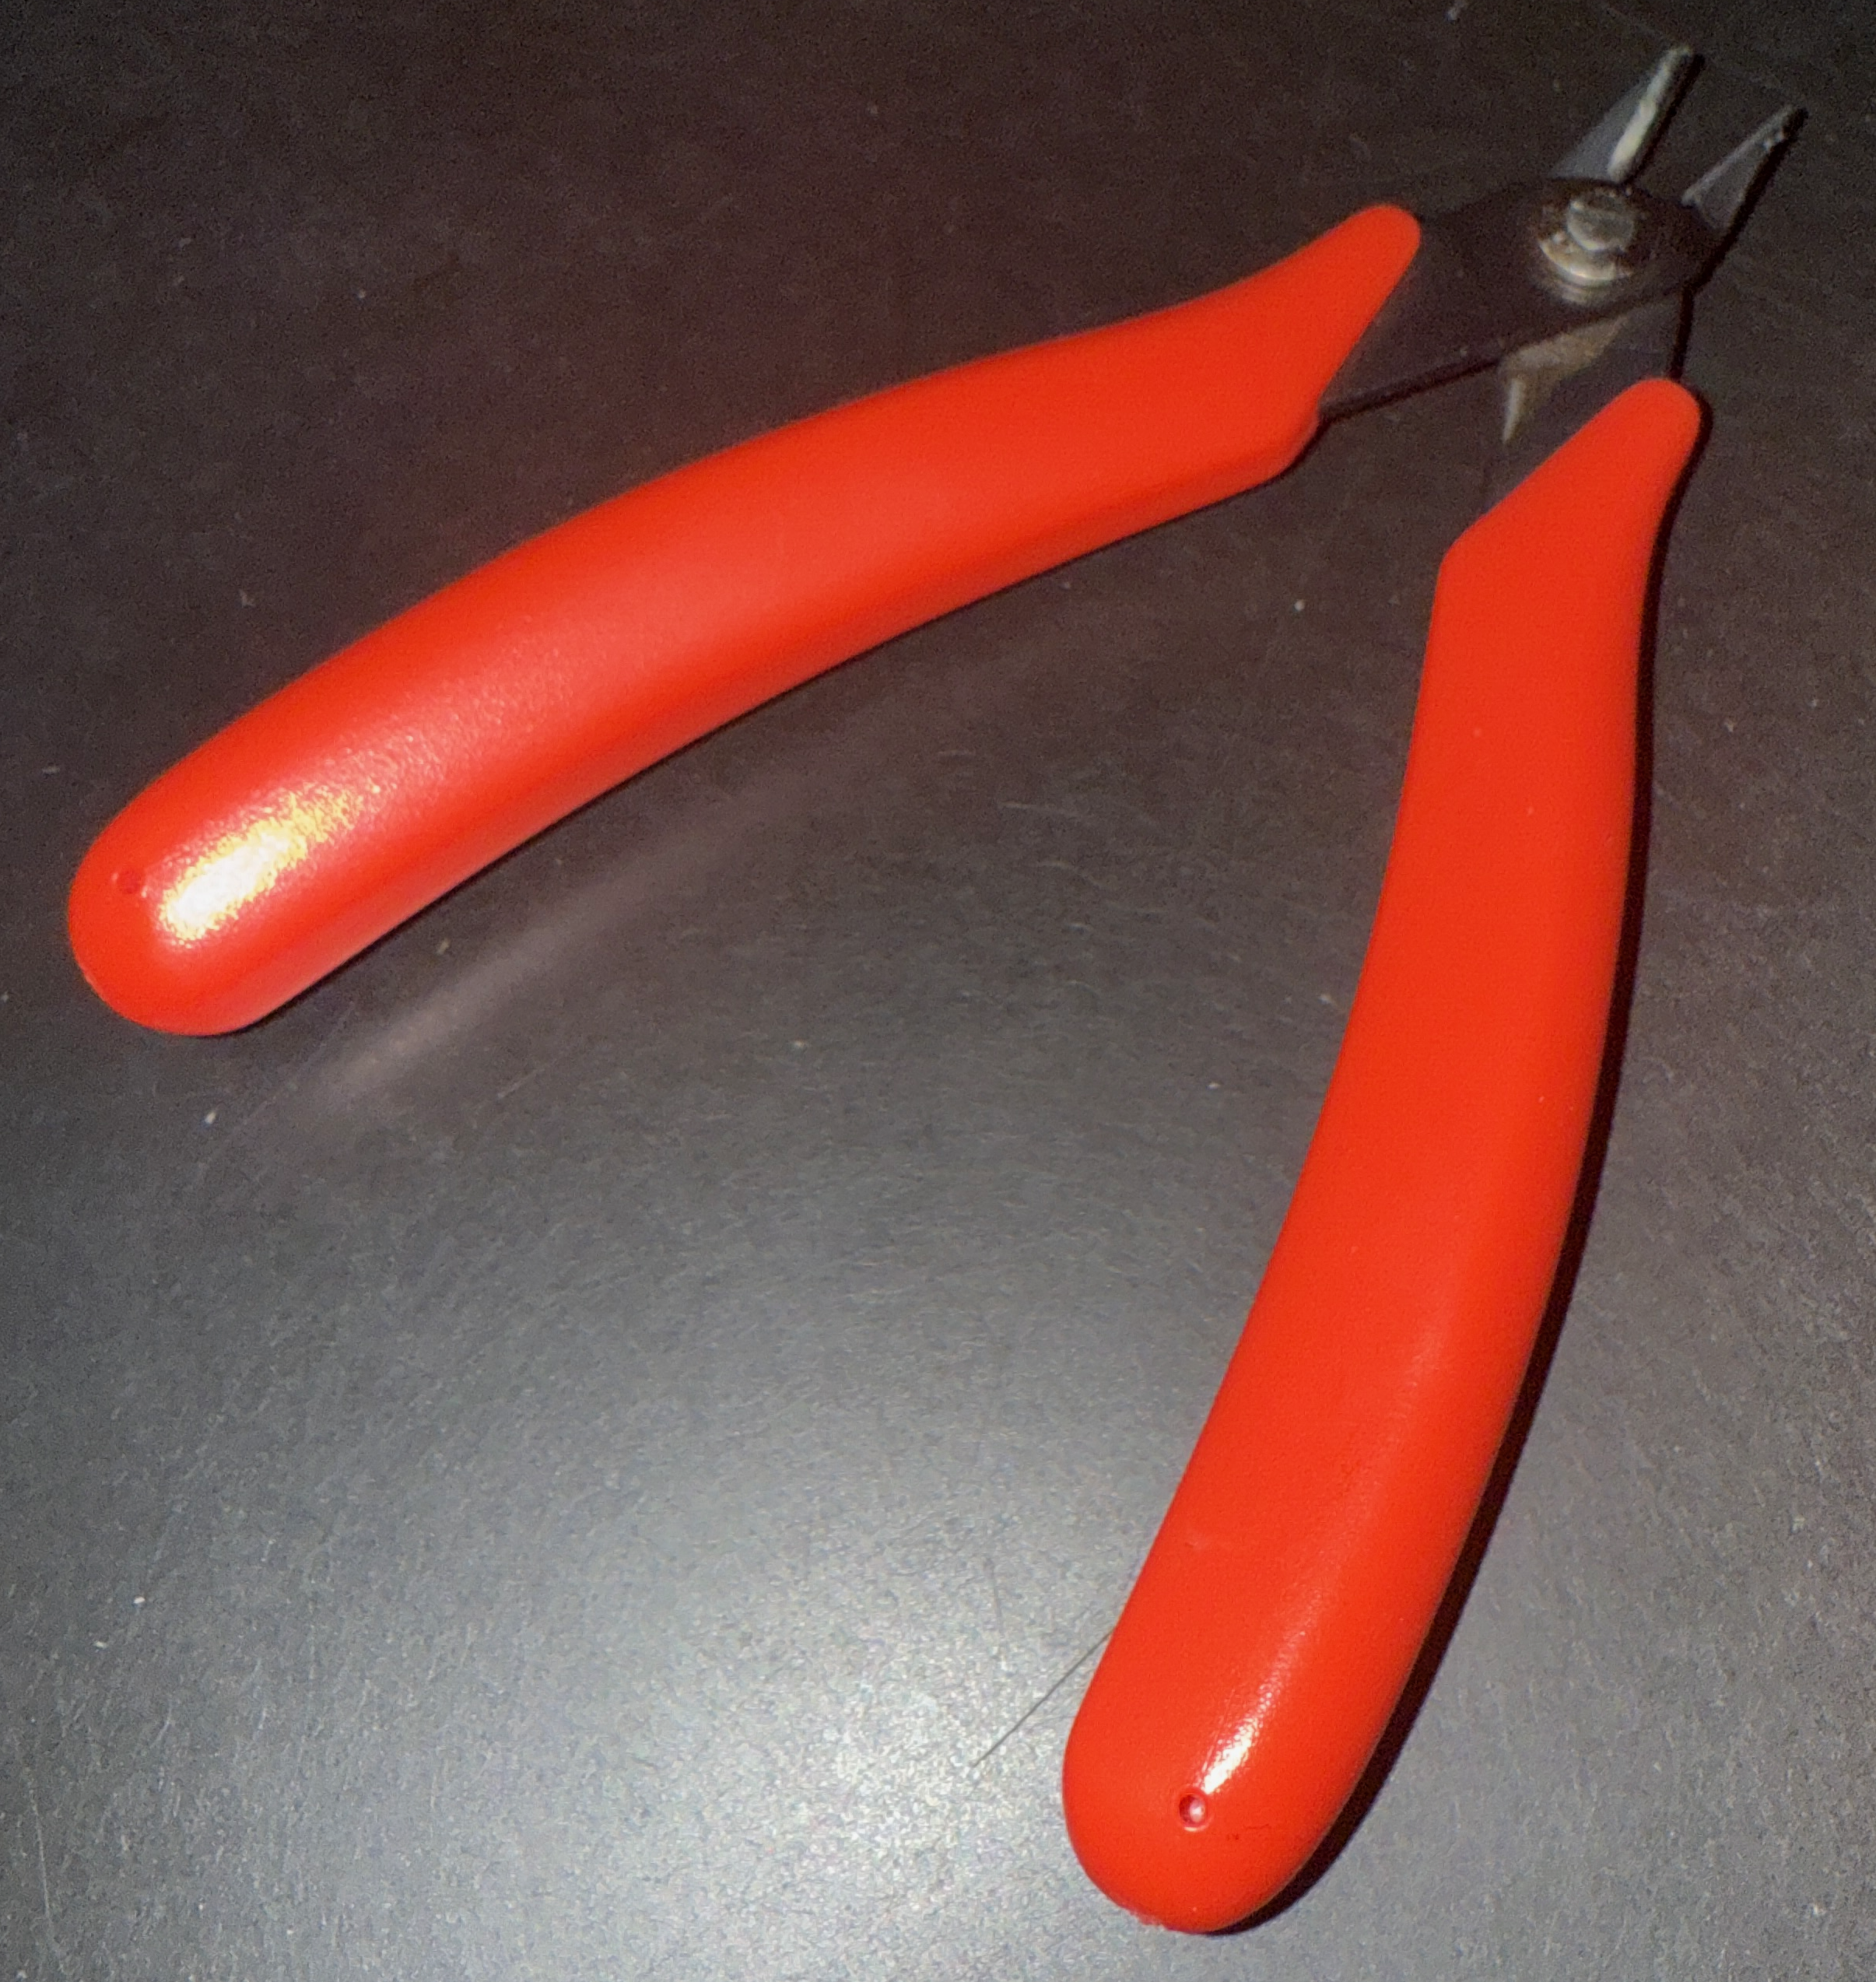
Filament needs to be trimmed pretty often, and printed items often need to have supports or skirts trimmed away. I find myself reaching for very small wire snips all the time. I’m not sure where this pair came from
Scraper
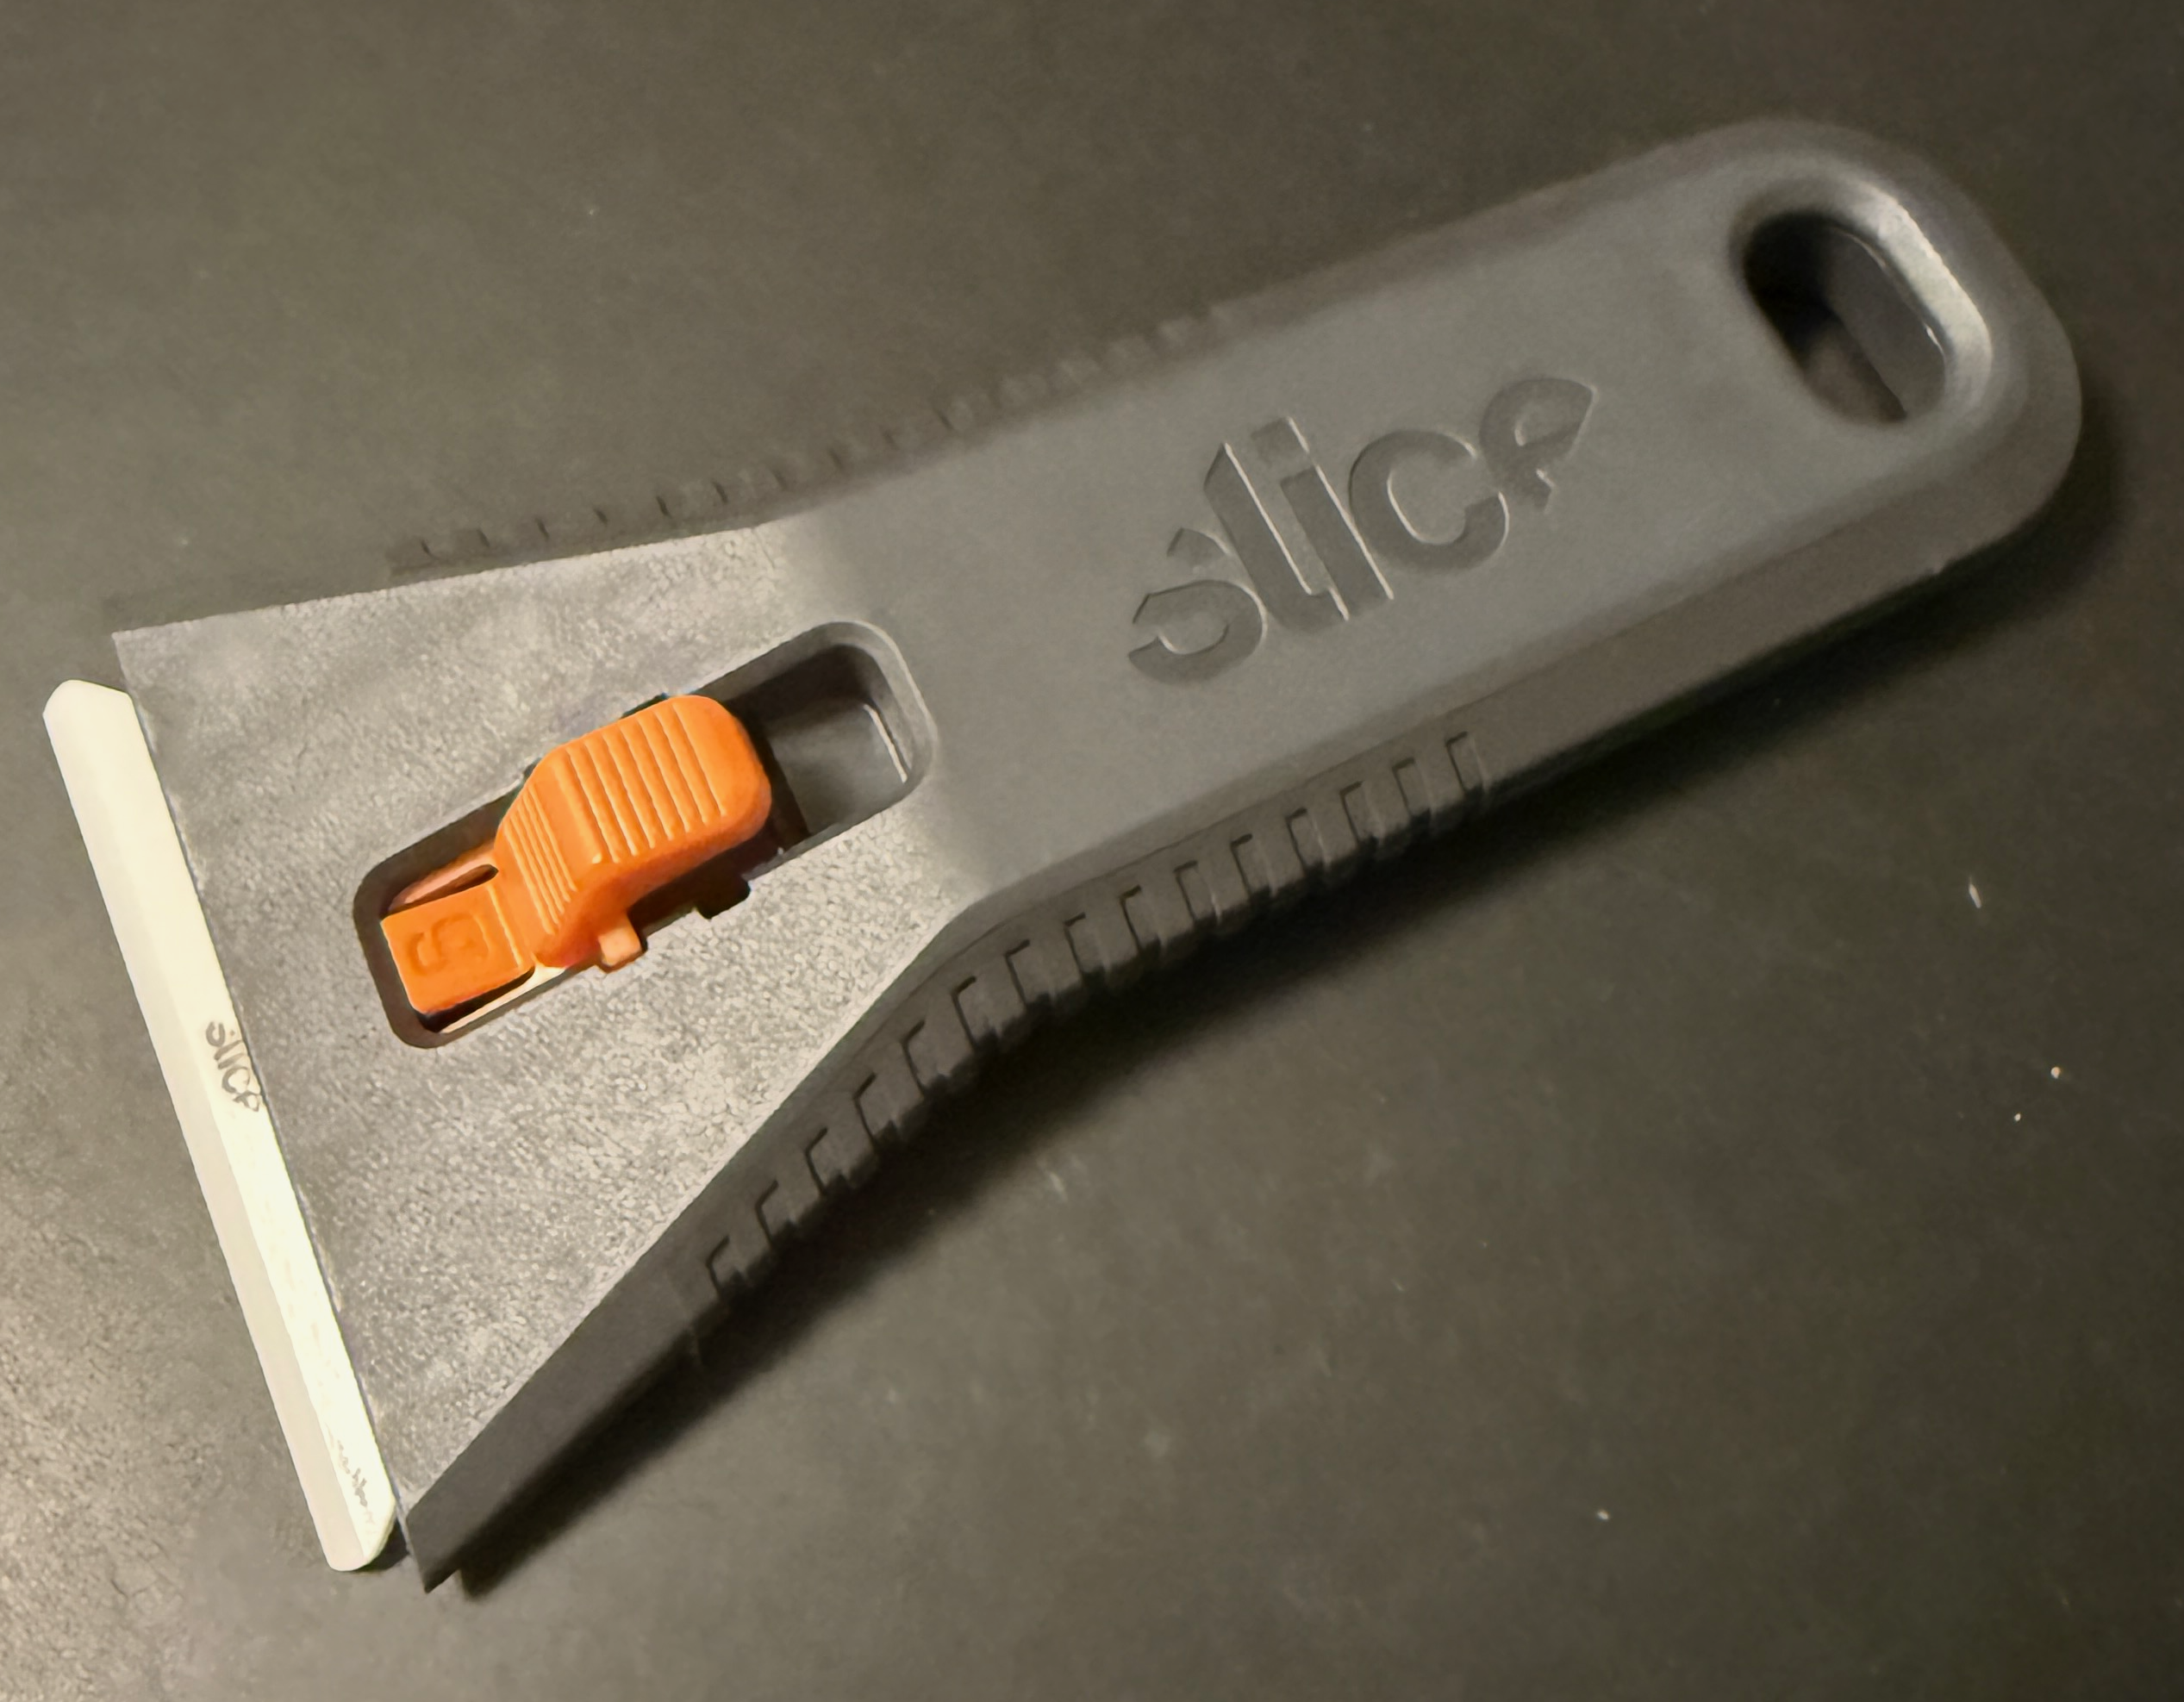
The X1C has a built-in model of a razor blade handle, to be used for scraping items from your print bed. There are also hundreds of printable scrapers on maker world. But I went with this scraper from Slice. The blade is ceramic, which is harder than steel. This means it does not have to be as sharp to do the same job (ditto for their box cutters). It feels less likely that I’ll cut myself with it.
Glue
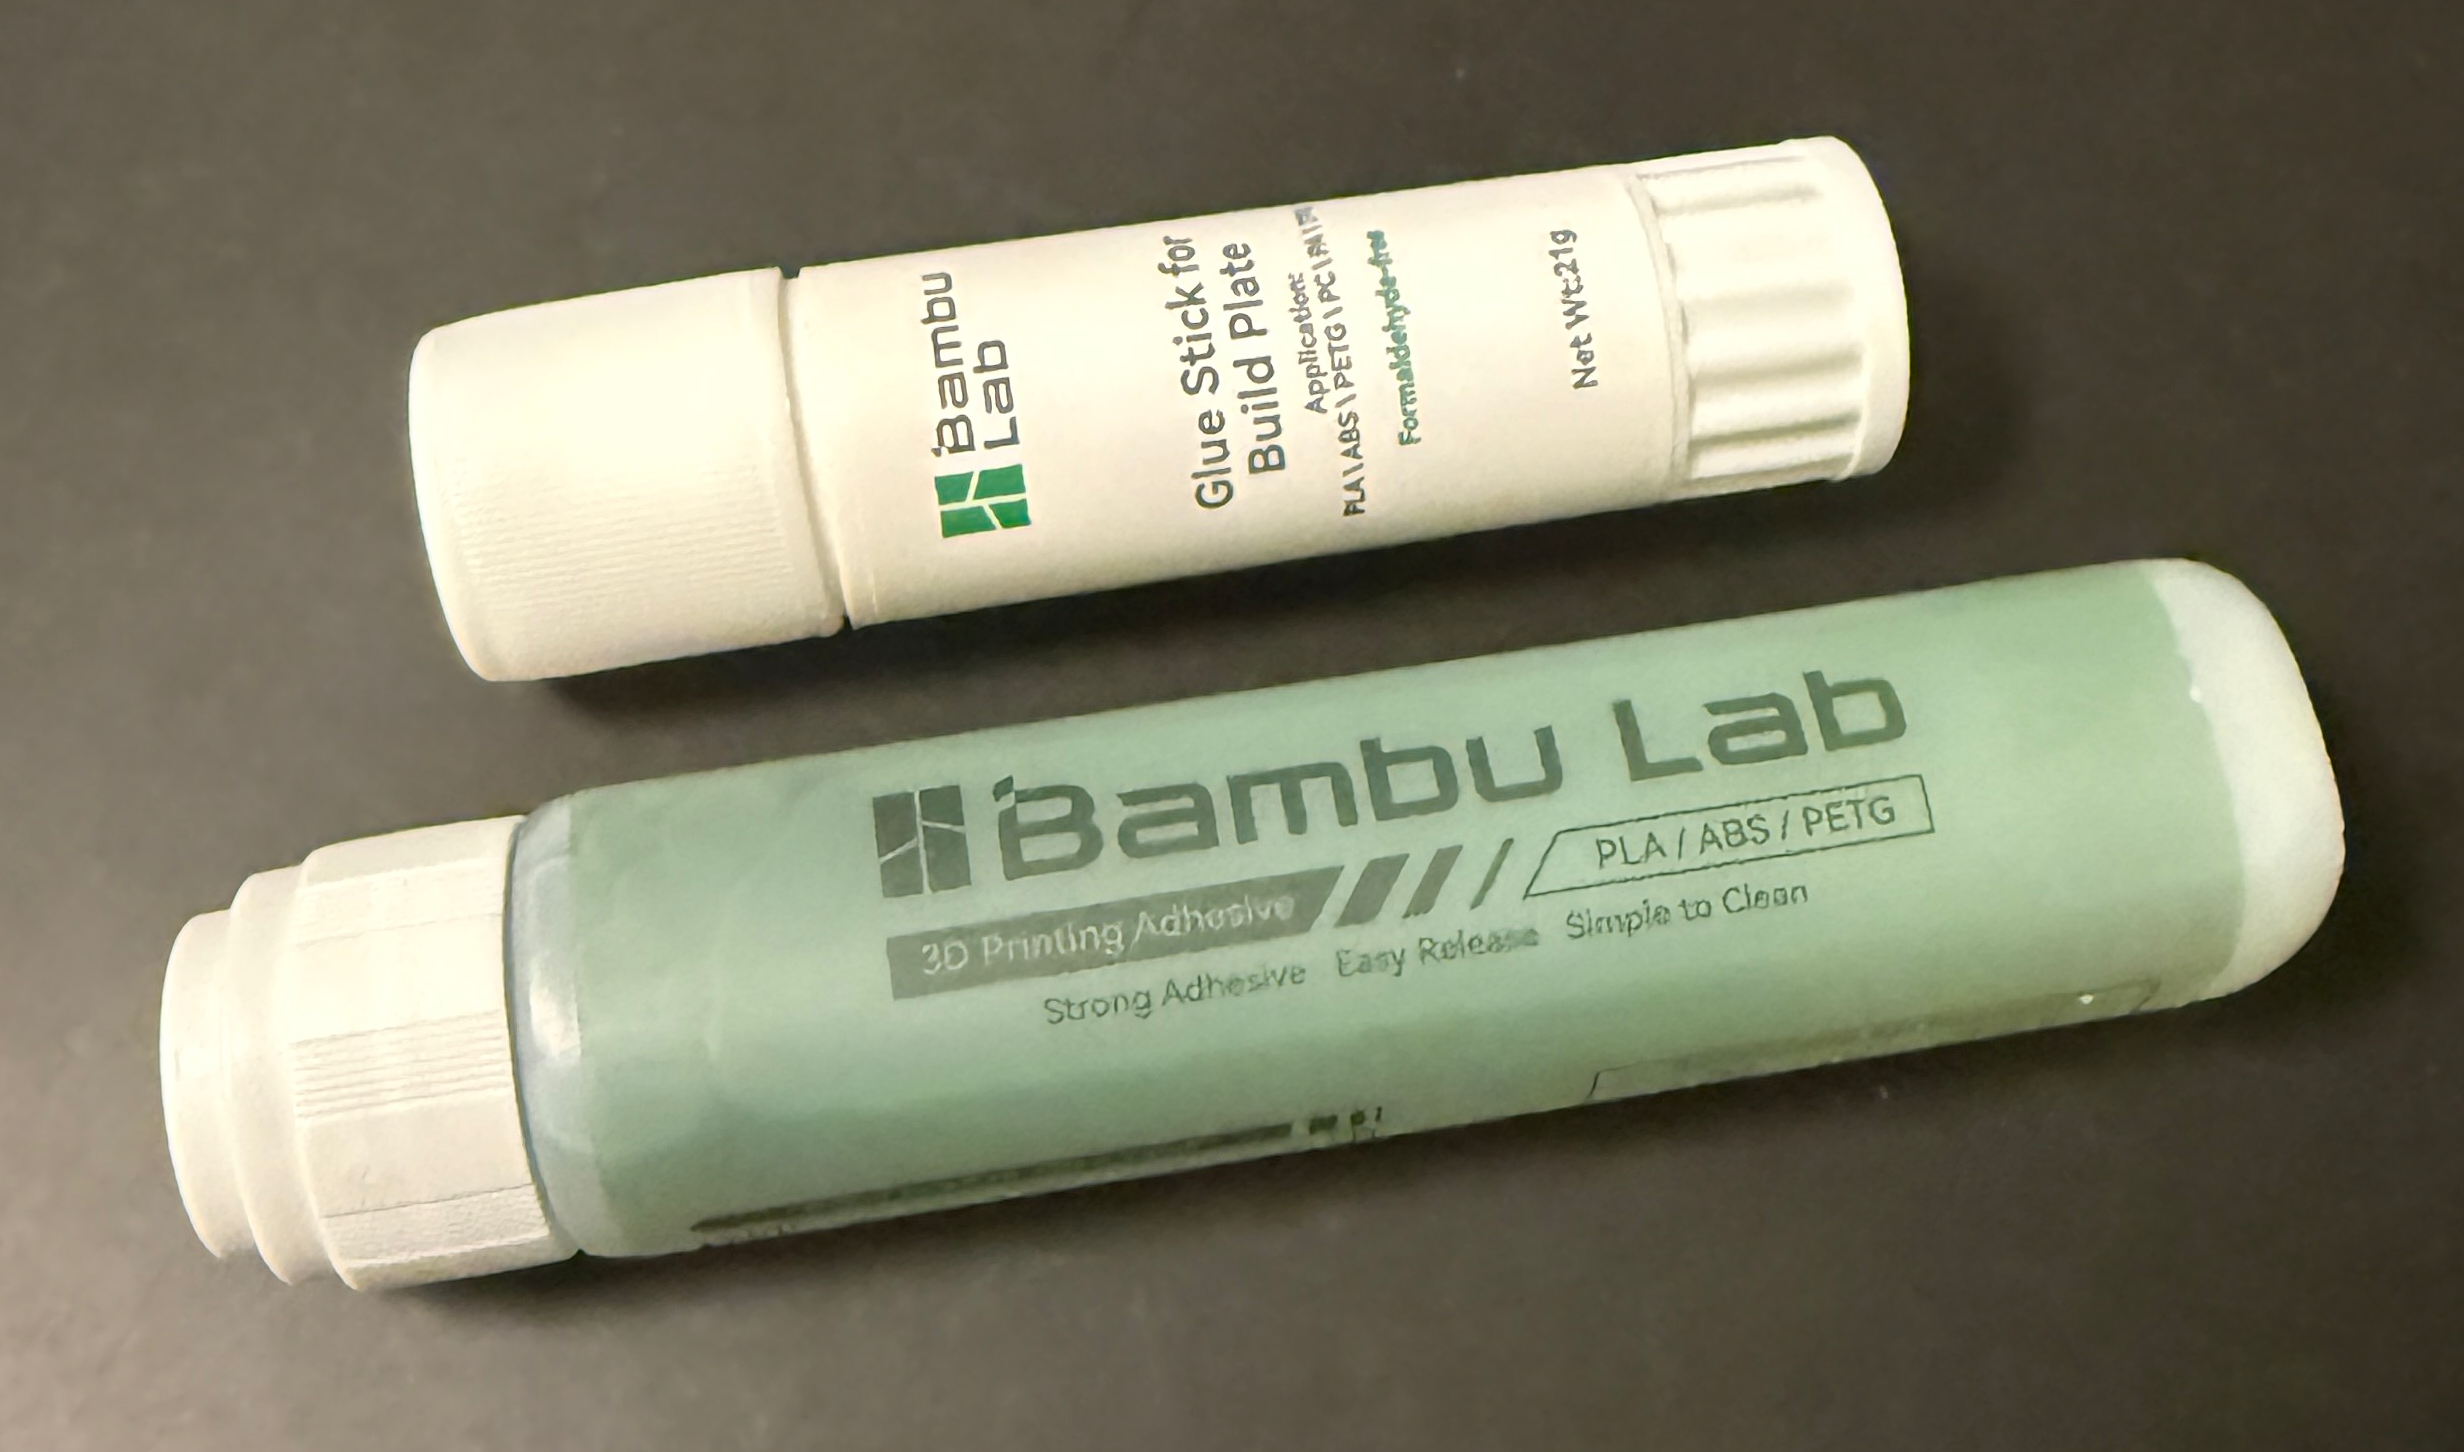
When printing PETG/TPU/PC, Bambu recommends using stick or liquid glue on your build plate. Their stick glue is nothing special… it’s the same material you’d get buying a glue stick at any office store. But their liquid glue has a great applicator; it let’s me apply a thin, even coat.
Pick Set and Deburring Tool
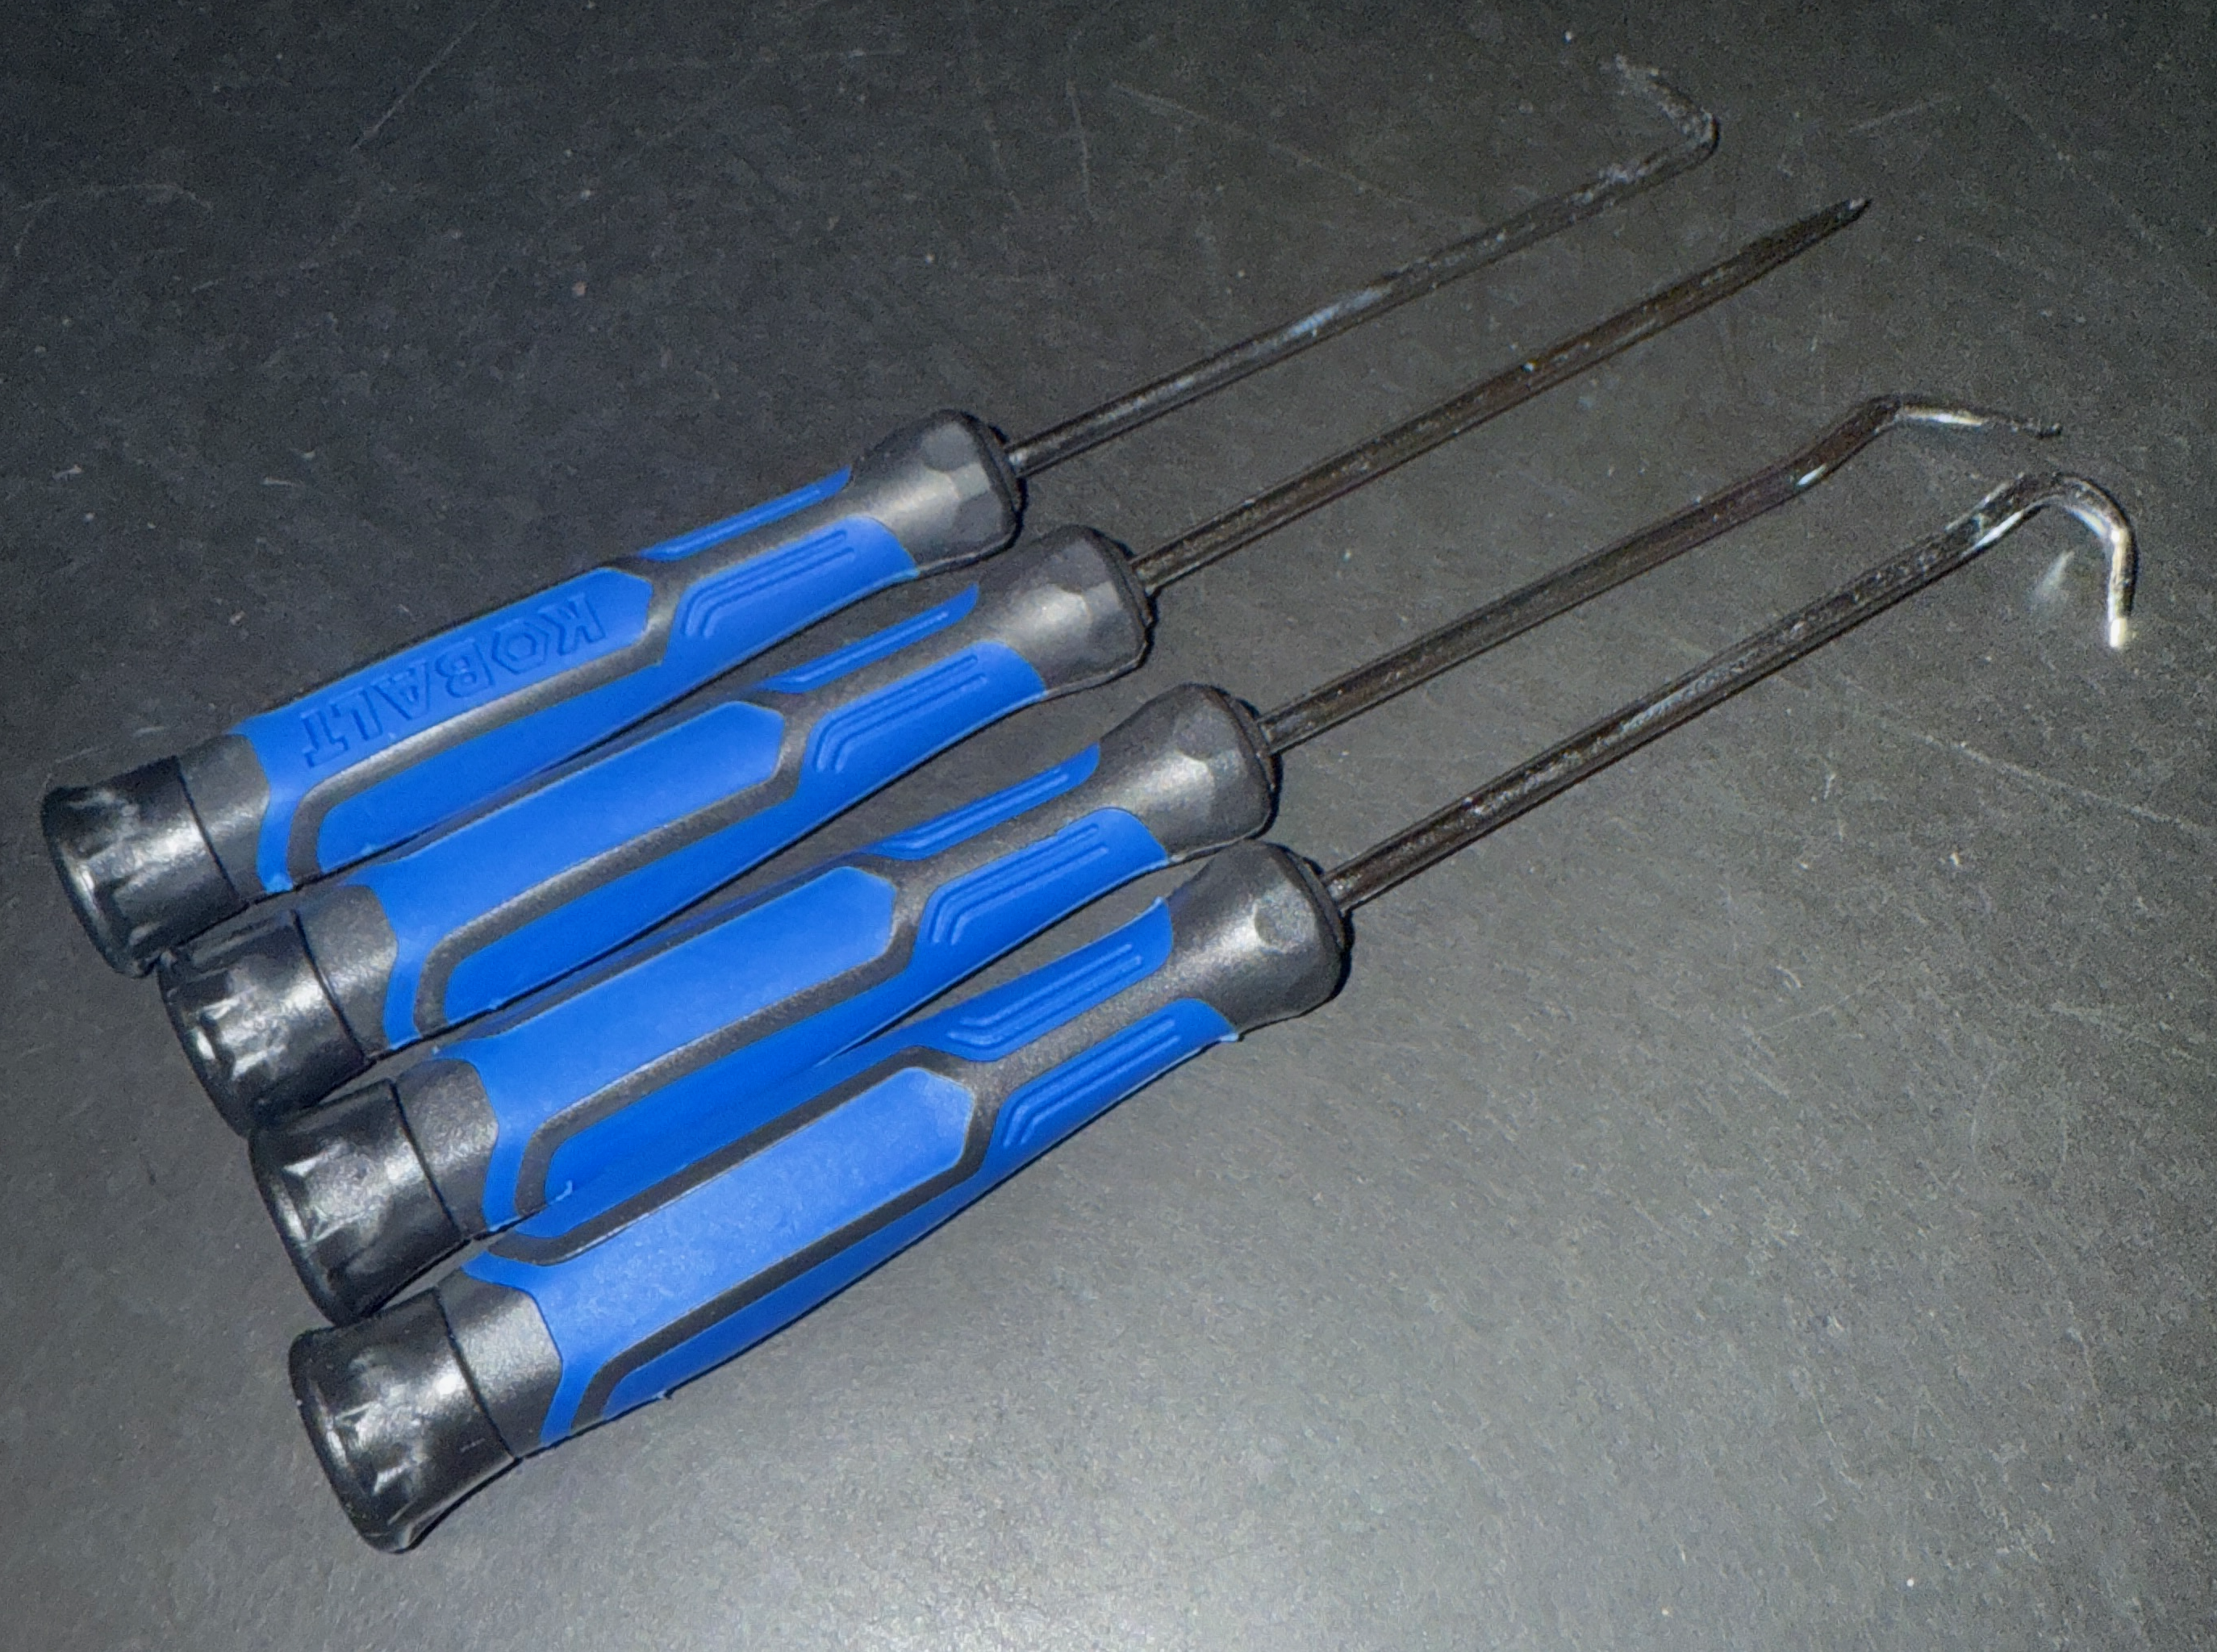

Many prints have supports or skirts that need to be removed and/or extracted. It’s fiddly work and picks are super useful. Also, a deburring tool can help smooth places where supports have been broken off. I got this hook and pick set, and this deburring tool.
Filament Vacuum Bags
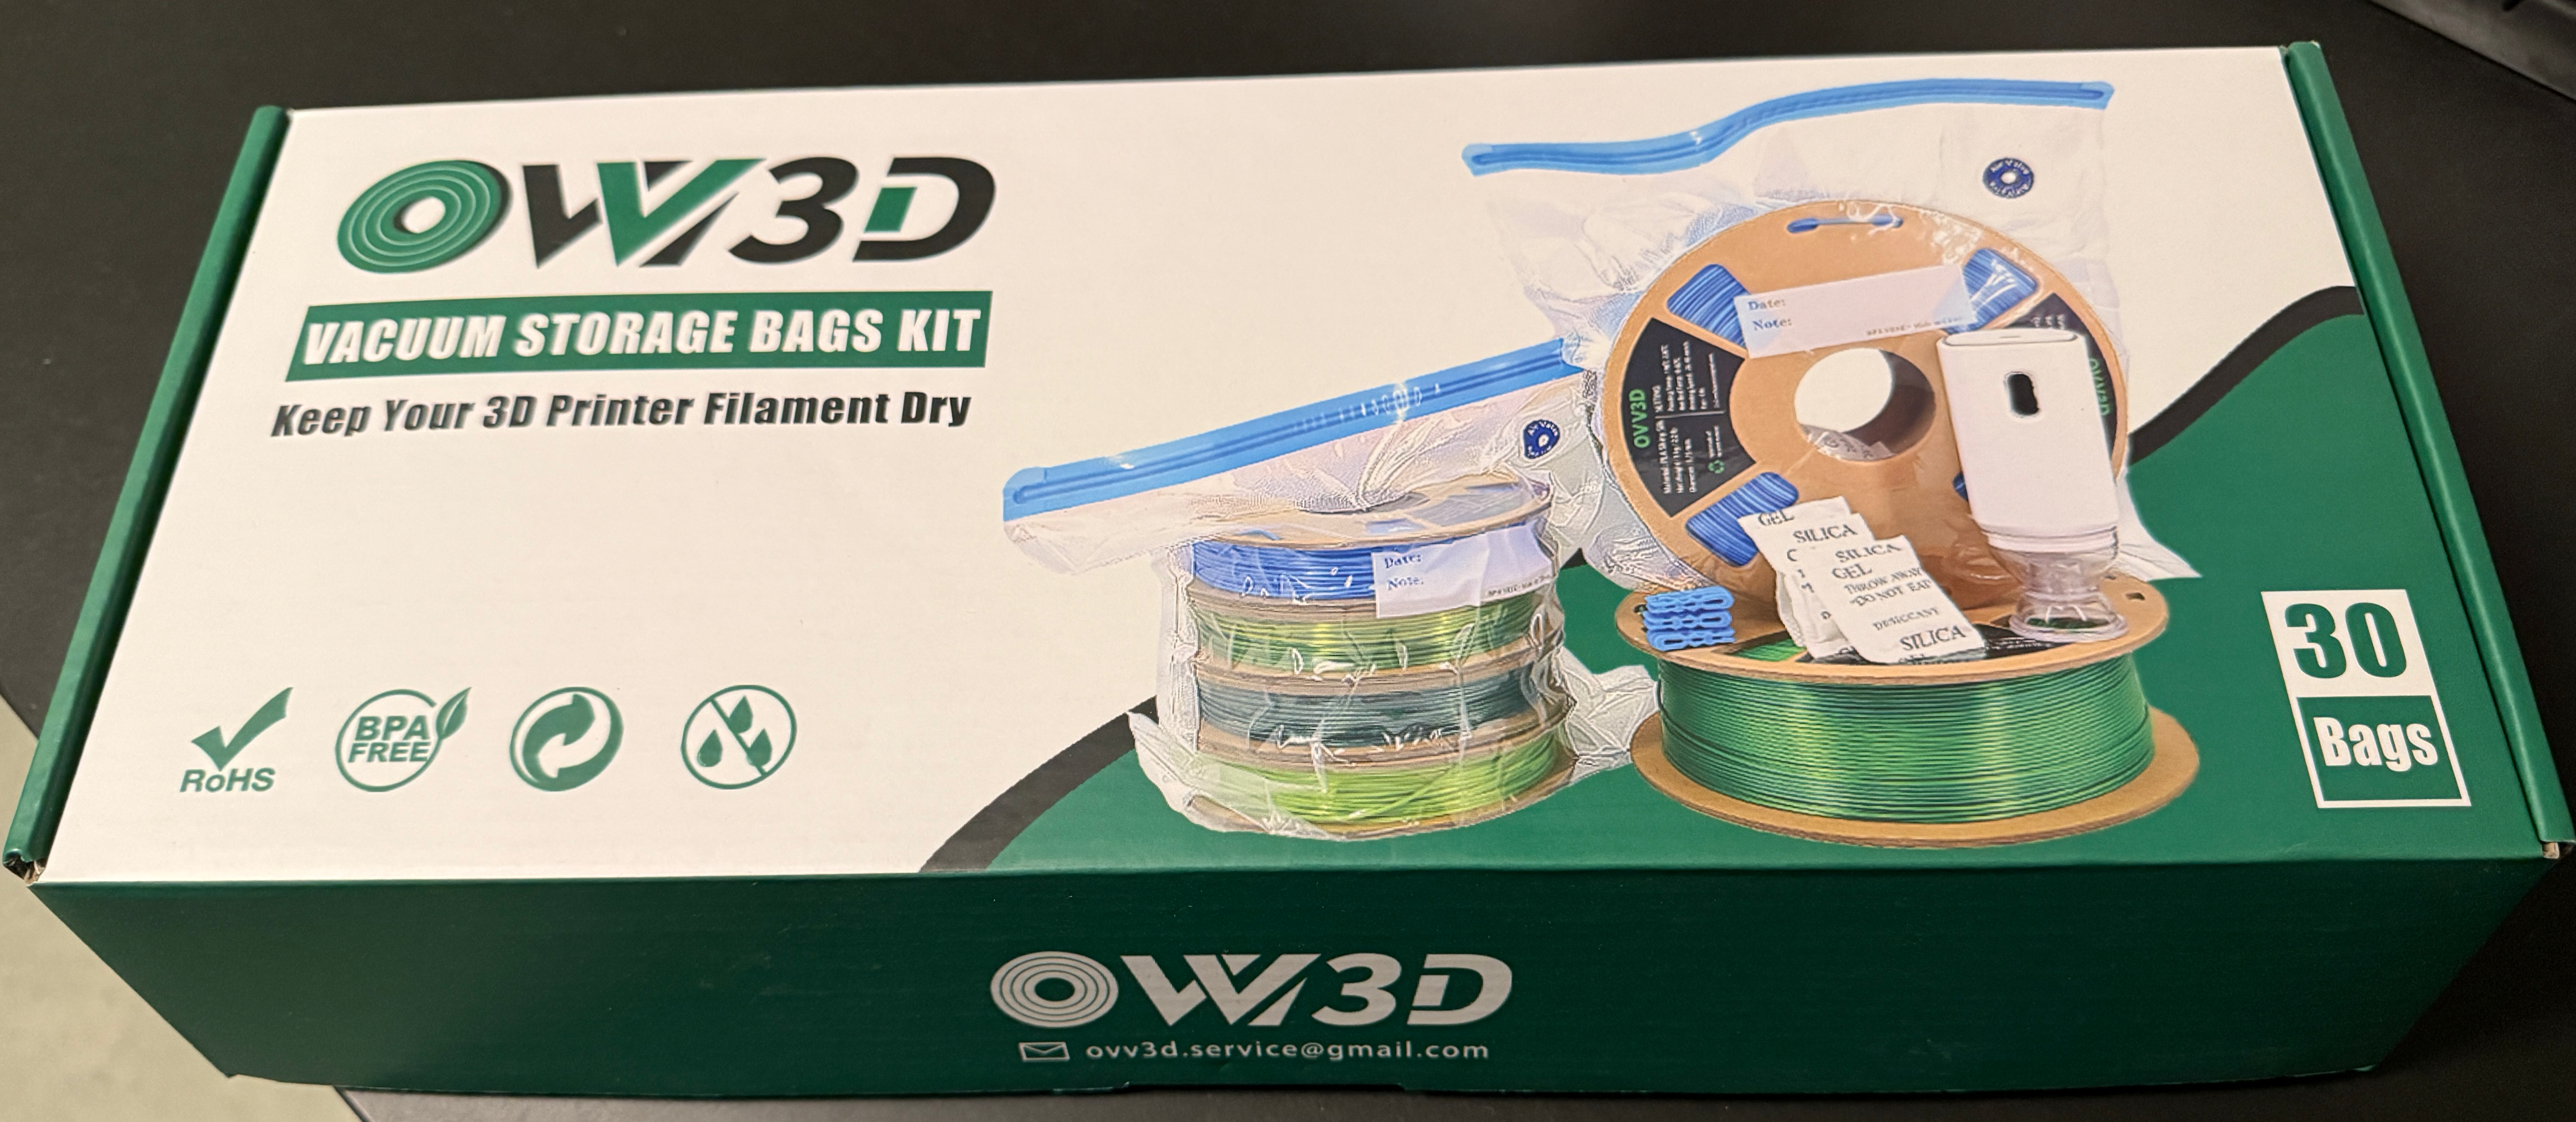
Filament needs to be dry in order to work well. The X1C can dry filament and the AMS can keep four spools that way. But if you have more filament, you probably want to keep it dry outside the AMS.
This kit works really well for that. It’s a bunch of spool-sized sealable bags with a handheld vacuum pump for pulling all the air from the bags.
AMS
The AMS is really useful, but not for the reasons I thought. I had expected that I would do a lot of multicolor or multi-material prints, but that didn’t end up being the case. Most of the time, I use the AMS for printing items that use more than one spool of the same filament; the AMS can auto-switch to a matching spool when one runs out. This means I can print things that take more than 1KG of filament. More importantly, I can use up the last bits of a spool while printing something smaller.
Upgrades
A running joke in 3D printing is that the first things anyone prints are improvements for their printer. It’s funny because it’s true; you can cheaply make your printer much better by making simple add-ons. Here are the ones that have worked best for me; I’ve also collected them here on maker world.
Poop Chute
HKR Interlocking Poop chute with removable bucket
When switching filaments, the X1C must purge it’s hotend and then load the new material. The result of this purge is a little blob of mixed plastic that is ejected from the back of the printer. This blob is reminiscent of Dum Dum’s mystery flavor.
All this ejecta has to go somewhere, and as shipped the X1C just spits it out via a hole in the back. So you need something to catch the detritus to avoid a huge mess. I went with this “poop chute” and it works well. I originally printed all 3 buckets, but in practice I only use the small one.
The small bucket was also the first model I tweaked for my own purposes. I chopped off it’s floor so that I could route the poop to a waste basket below the edge of the table.
Riser
Putting the AMS above the printer makes a lot of sense, but setting it directly on top prevents you from opening the X1C’s upper glass lid. It also makes it harder to view printing from above. A riser lets you keep your AMS out of the way while still allowing you to open the lid (which is necessary when printing some materials).
I originally went with this one and paired it with this build plate rack (see below). The whole deal proved unwieldy, so I switched to this sleek riser and have been happy with it.
Build Plate Rack
10 pc Build Plate Rack - Bambu X1/P1
My X1C came with a Textured PEI build plate, and it’s fine for many prints. But some materials need other plates, and the plates themselves wear out and can get damaged. And they’re mildly fragile, so you need a place to keep them safe.
This rack holds a ton of plates and there are mounts available for putting it in convenient places. I have mine standing vertically by the printer.
Drying Cover
Stackable! Bambu filament drying cover for Bambu X1-series
The X1C can act as a standalone filament dryer; it’s enclosed and heats up its interior like an oven. But you need a cover for the filament you’re drying. I chose this one because it’s stackable and I could thus dry up to three spools at a time.
Fair warning: this print requires PC filament, which typically needs a high-temperature build plate (I used Bambu’s smooth one).
AMS Dry Pods
Dry Pods and Desiccant Trays for AMS
The AMS is mostly airtight, and thus works ok to keep filament dry. These pods let you amp up the AMS’s internal dryness by keeping a bunch of desiccant in the AMS’s interior. My AMS sits at 10% humidity all the time and I’ve never had problems with wet filament. I have had to replace the desiccant once during the year.
Filament Splitter
The AMS takes over the filament input port on the X1C. But not all filaments can be used with the AMS (e.g. most TPU). This splitter let’s you also print from an external spool.
AMS Disconnect Tool
Bambu AMS Disconnect Tool (remix: mini)
Strangely, disconnecting the AMS is almost impossible without two special tools. This print puts both tools into one handy unit.
Spool Rack
The downside of 3D printing is that you collect more and more filament and it needs space to be stored. Most shelf racks use dowels and I like the simplicity of this design.
Unproven Extras
It’s easy to start over-planning and decide to buy stuff that you imagine to be necessary, but really isn’t. Here are some things I’ve purchased, but am not completely sold on yet.
Polydryer
Polymaker’s polydryer is pretty slick. It combines a filament dryer with removable, sealable storage containers. Having a sealed container is crucial when printing from an external spool; it’s the only way to prevent your filament from getting wet during the print.
But now that Bambu sells AMS-friendly TPU, I don’t know if I’ll need to print from and external spool anymore.
Also, I found that the sealed containers are not all that good at keeping moisture out. Over three months, several containers of mine wend from 15% humidity to 30%, just sitting on my shelf. So filament stored in the polydryer containers will probably need to be dried anyway after storage.
Blowtorch
A Youtube guy I stumbled across claimed that his most essential tool was a small blowtorch. He used it for smoothing out the surfaces of prints and getting rid of errand strings. So I got the one he recommended.
But I’ve never used it, not even once. Maybe I’m blessed, but it seems like all of my prints are fine without any torching.
The Next Step: Modeling
The current 3D world is amazing because there are so many models publicly available on many different sites. I told my partner about maker world and mentioned I could print most things there super easily. Five minutes later, she found some interesting earrings and sent me a link. 30 minutes after that, I had printed out 30 copies for her to paint and play with. It’s really astonishing how much you can make from other people’s designs.
Bambu has a free app for doing simple modeling, but if you want to make something complex or precise, you’ll need to use CAD software.
No matter what you choose, there is going to be a steep learning curve. Making 3D objects is inherently complex; there are oodles details to get right and multiple ways to do everything.
I’ve been enjoying Fusion 360, but it requires a paid subscription to do anything useful. This set of tutorials really helped me learn Fusion. I’ve heard good things about OpenSCAD, but haven’t used it personally.